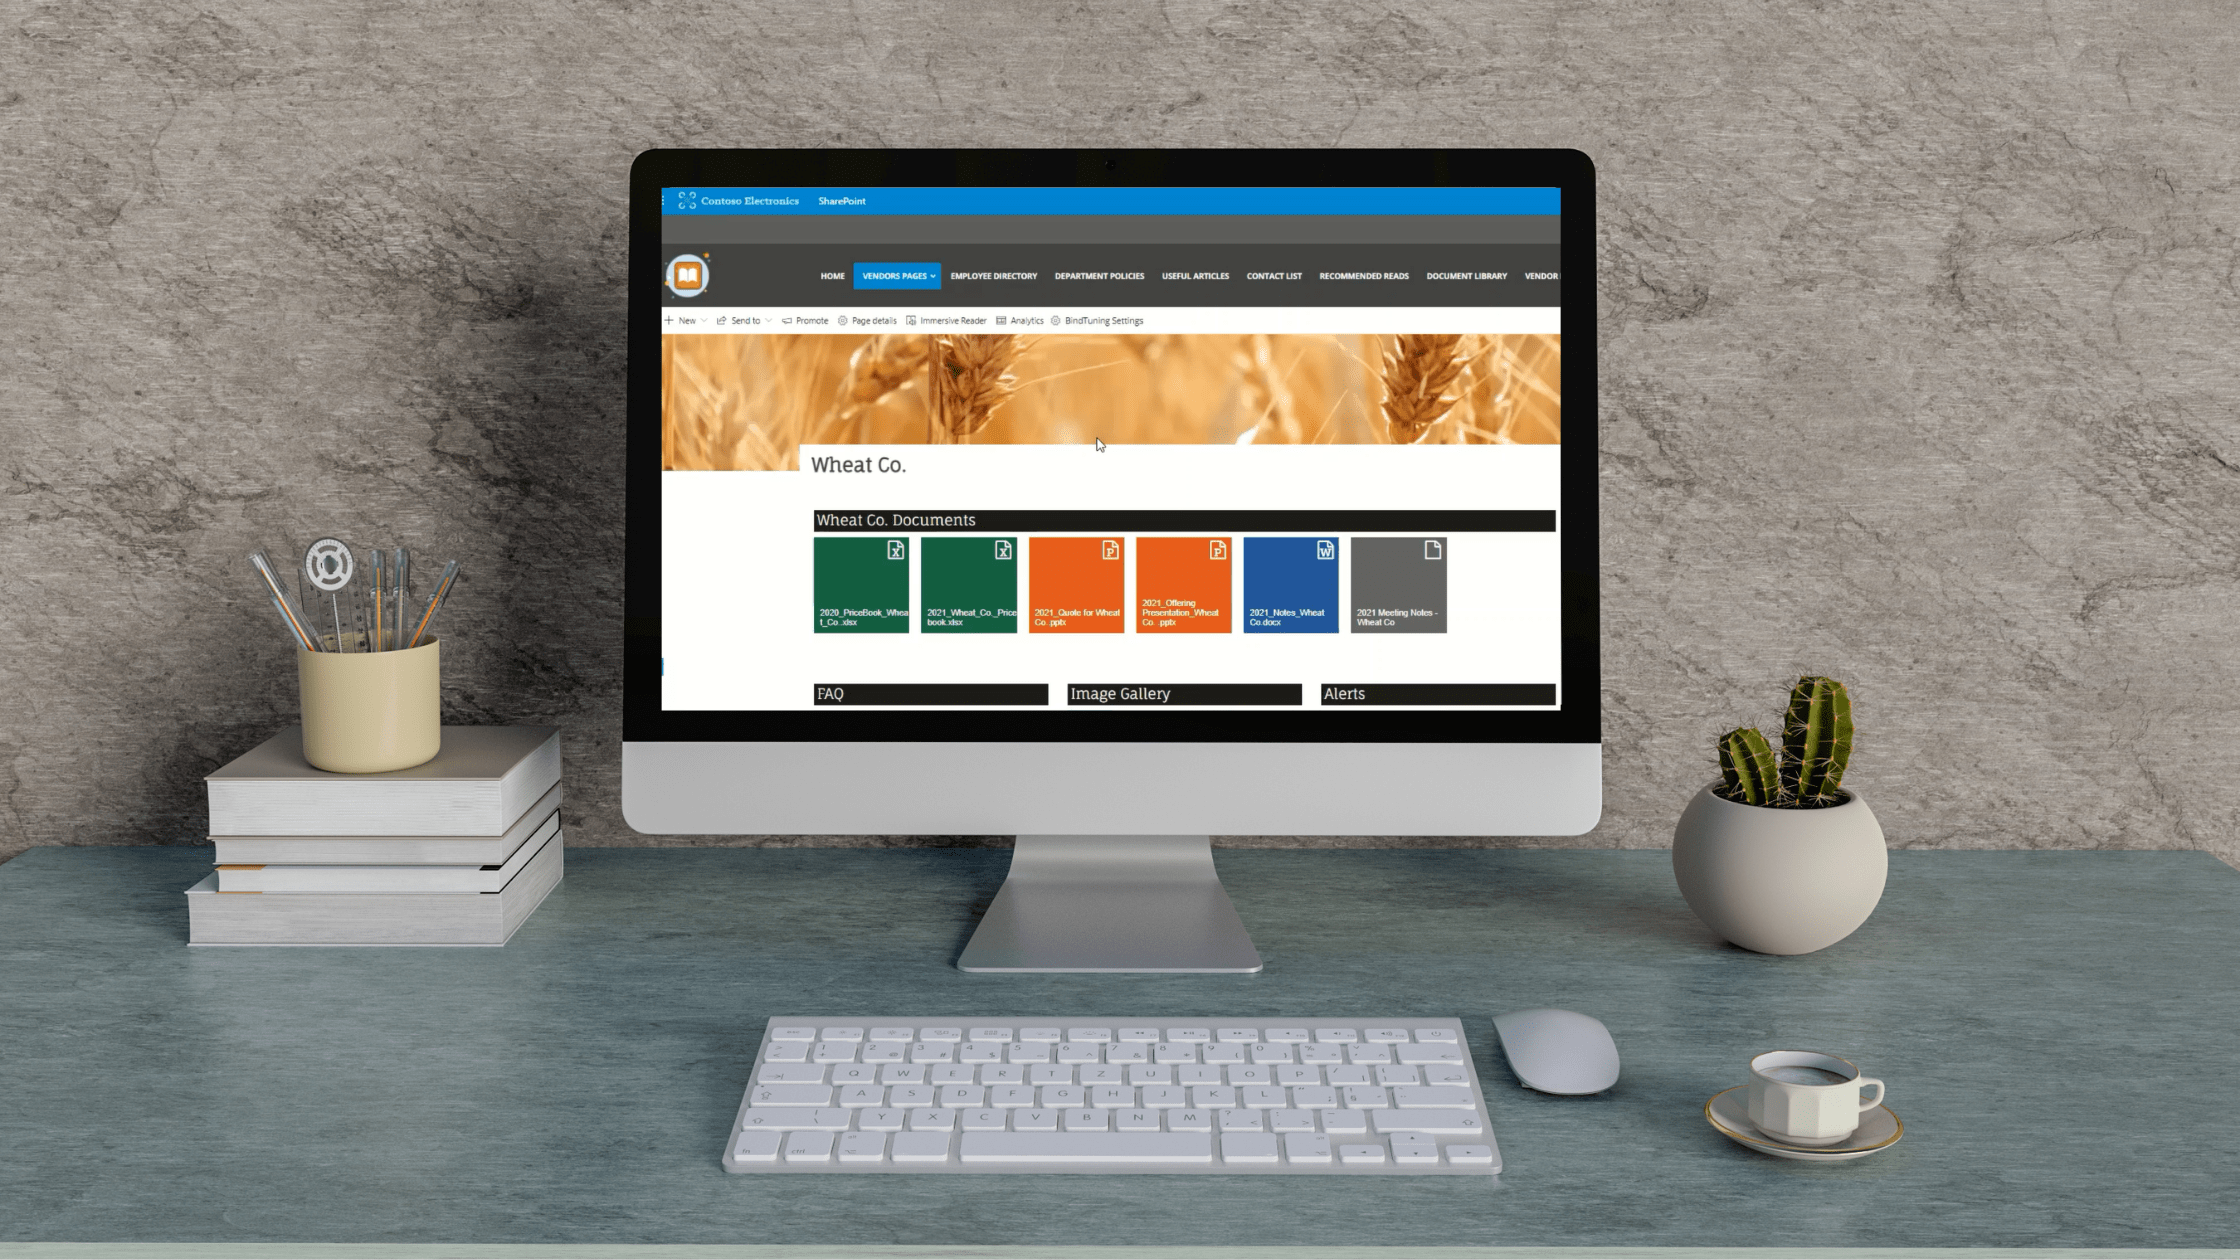
The new Office 365 and SharePoint 2013 introduced a suite bar at the top of the screen and for most of the users it is just a useless empty space. By default it displays a SharePoint or Office 365 word in the left side and some links for the installed features in the right. In this post I will show you how to customize it with your company logo without using server code.
This post was updated! Due to changes introduced in the Office 365 HTML structure this post was updated on 23rd Sep 2015.

BindTuning master pages
Let’s start with the Bind Tuning masters, to accomplish this tutorial you will need the SharePoint Designer 2013.
- Open your site with SharePoint designer
- Copy your company logo to the Site Assets folder
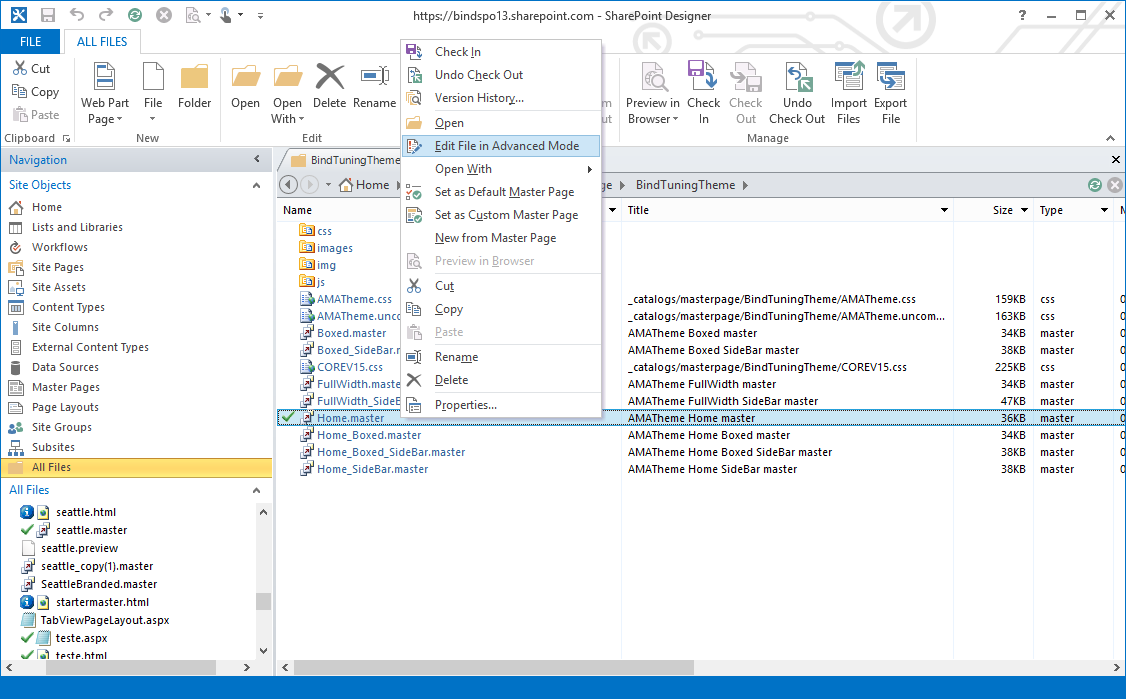
- Navigate to All Files -> _catalogs -> master page -> YourThemeName
- Right click on the masterpage that you are using, check it out and edit it in advanced mode
- Search for
</body> - Right above it paste the following script
- If you are using Office 365
Deprecated!<script type="text/javascript"> var companyLogo=document.getElementById("suiteBrandingBox"); companyLogo.innerHTML = "<a href='/'><img src='/SiteAssets/BindTuningLogo.PNG' height='30px'></a>"; </script>
<script type="text/javascript"> if (typeof jQuery == 'undefined') { document.write('<script type="text/javascript" src="//code.jquery.com/jquery.min.js"><' + '/script>'); } var interval = setInterval(function(){ if($('#O365_MainLink_Logo').length) { $('#O365_MainLink_Logo').html("<a href='/'><img src='/SiteAssets/BindTuningLogo.PNG' height='25px'></a>"); $('#O365_MainLink_Logo').attr("style","padding-top: 3px"); clearInterval(interval); } }, 1000); </script> - If you are using SharePoint 2013
<script type="text/javascript">
     var suitebar = $("#suiteBar");
     var branding = suitebar.find(".ms-core-brandingText");
     branding.html("<a href='/'><img src='/SiteAssets/BindTuningLogo.PNG' height='30px'></a>");
</script>
- If you are using Office 365
- Adjust the href in the script if you want to include any particular URL, and the image url to match with your logo.
- Save the modified master page, check it in and publish the major version
- Refresh your site to see the final result

SharePoint master pages
You can also use this code to customize the default Seattle master.
- Open your site with SharePoint designer
- Copy your company logo to the site assets folder
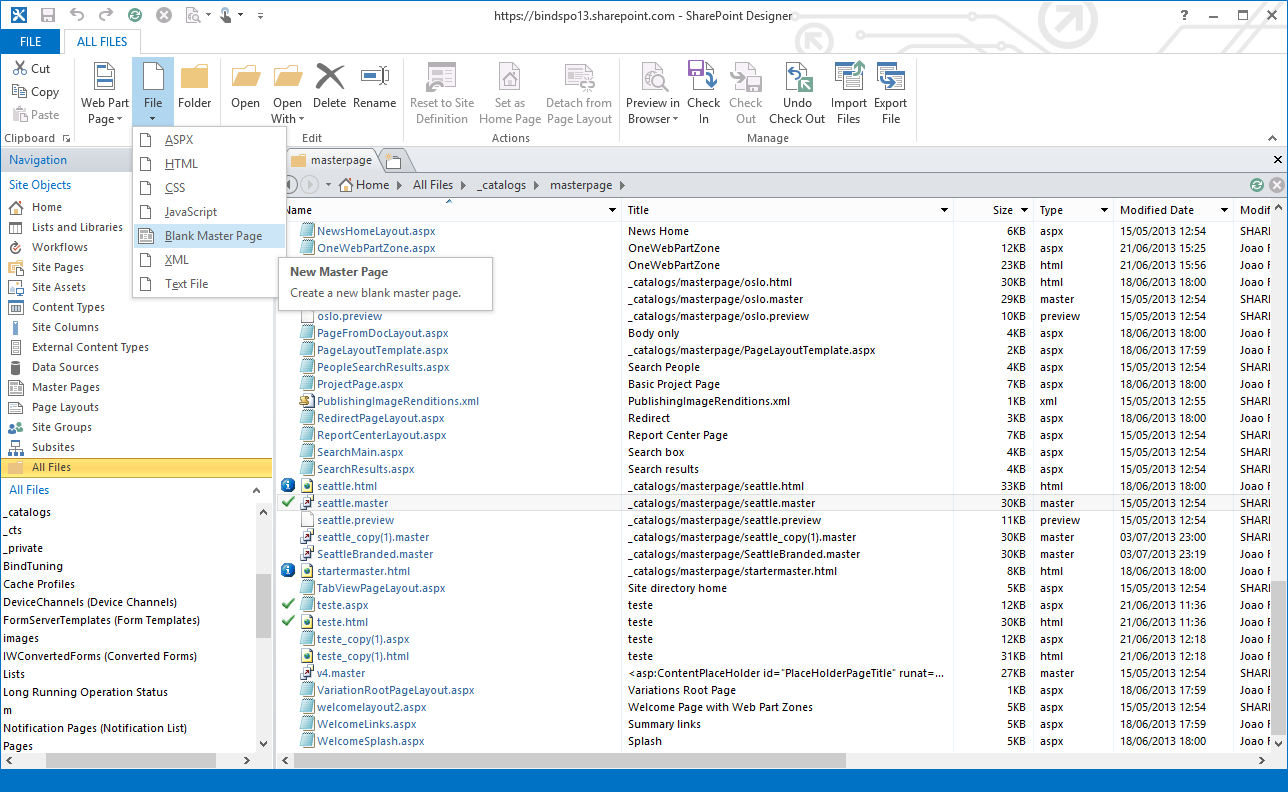
- Navigate to All Files -> _catalogs -> master page
- Edit the Seattle.master in advanced mode and copy all the code
- By default it’s not possible edit the original master, to create a new one click on File -> Blank Master Page
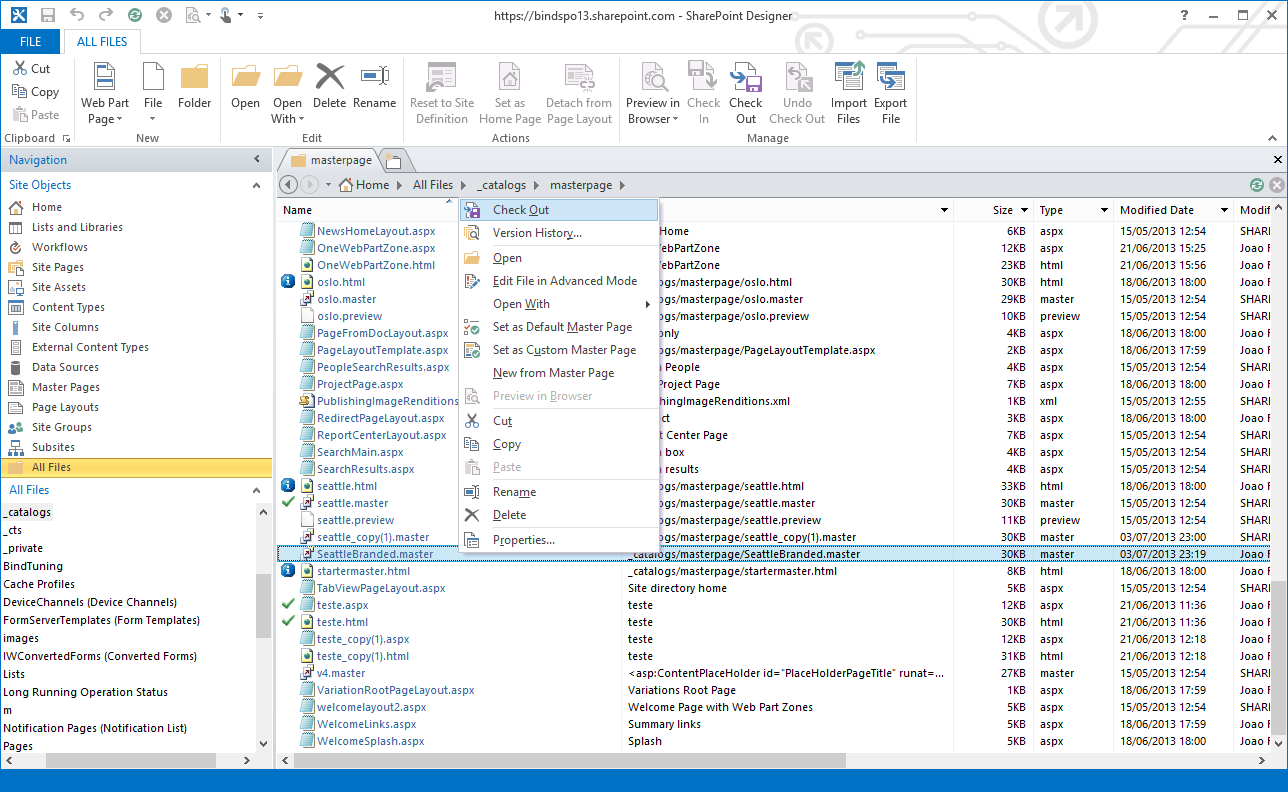
- Check out the new master, edit it in advanced mode, delete all the existent code and paste the one form original Seattle
- Search for
</body> - Right above it paste the following script
- If you are using Office 365
Deprecated!<script type="text/javascript"> var companyLogo=document.getElementById("suiteBrandingBox"); companyLogo.innerHTML = "<a href='/'><img src='/SiteAssets/BindTuningLogo.PNG' height='30px'></a>"; </script>
<script type="text/javascript">> if (typeof jQuery == 'undefined') { document.write('<script type="text/javascript" src="//code.jquery.com/jquery.min.js"><' + '/script>'); } var interval = setInterval(function(){ if($('#O365_MainLink_Logo').length) { $('#O365_MainLink_Logo').html("<a href='/'><img src='/SiteAssets/BindTuningLogo.PNG' height='25px'></a>"); $('#O365_MainLink_Logo').attr("style","padding-top: 3px"); clearInterval(interval); } }, 1000); </script> - If you are using SharePoint 2013
<script type='text/javascript' src='//code.jquery.com/jquery.min.js'></script> <script type="text/javascript"> var suitebar = $("#suiteBar"); var branding = suitebar.find(".ms-core-brandingText"); branding.html("<a href='/'><img src='/SiteAssets/BindTuningLogo.PNG' height='30px'></a>"); </script> - Adjust the href in the script if you want to include any particular URL, and the image url to match with your logo
- Save the modified master page, check it in and publish the major version
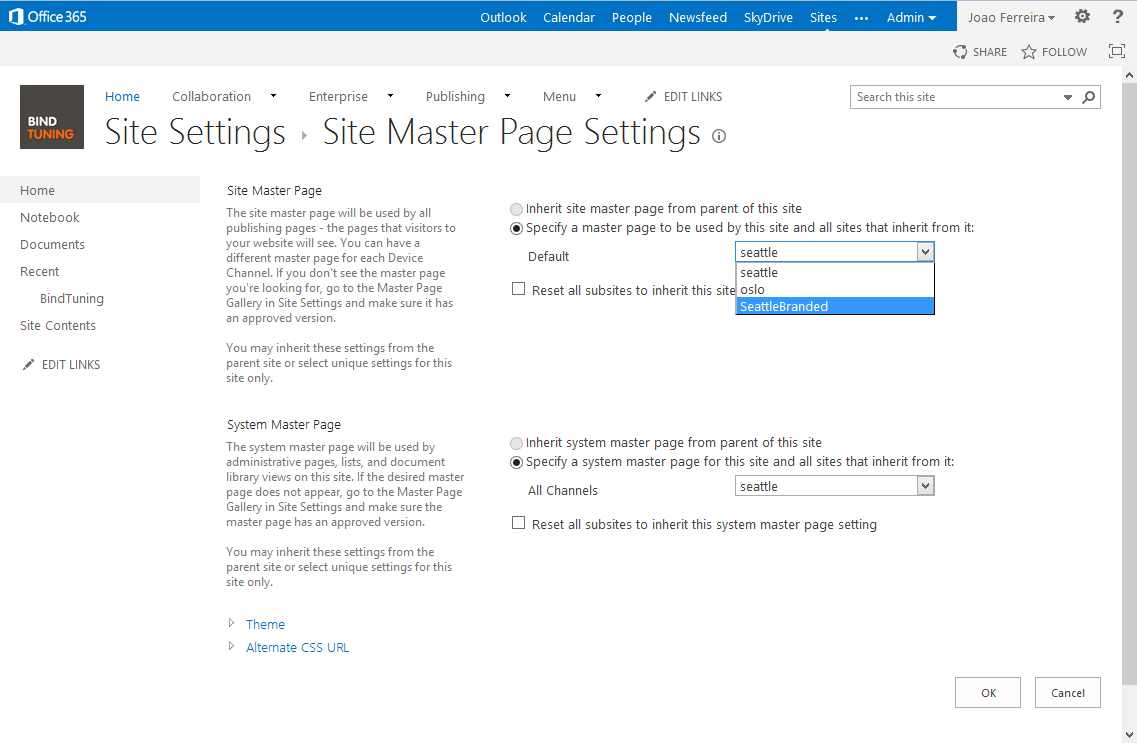
- Open your Sharepoint Site, go to Settings -> Site Settings -> MasterPage under Look and Feel and select the new master page for the Site master and System master options
- Refresh your site to see the final result

(Note: If you don’t have the Master Page option, you have to activate first the Publishing features.)