Creating and editing SharePoint files in Windows is easy with SharePoint Designer but, if you are a Mac user, you are in a tough position. In this article, we will explain how you can save time and get access to all the files and folders needed to customize SharePoint sites from your Mac.
This article only covers SharePoint on-premises, because unfortunately, SharePoint Online is not accessible with these methods.
Option 1 – Map SharePoint as a network driver
This option uses the WebDAV protocol that provides a framework for users to create, change and move documents on a server, typically a web server or web share.
- From finder click on Go Connect a Server
- Type the address to your SharePoint site including the protocol
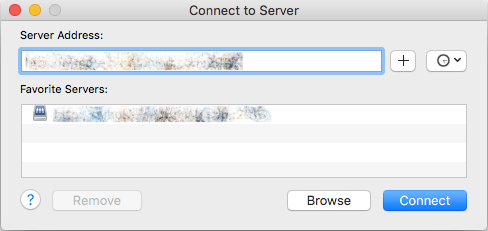
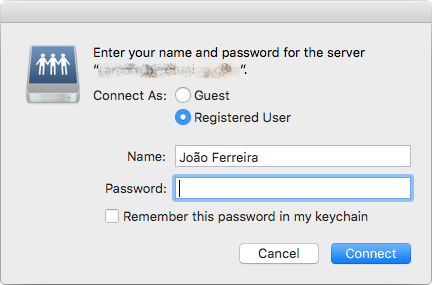
- Type your credentials and wait, this may take a few minutes
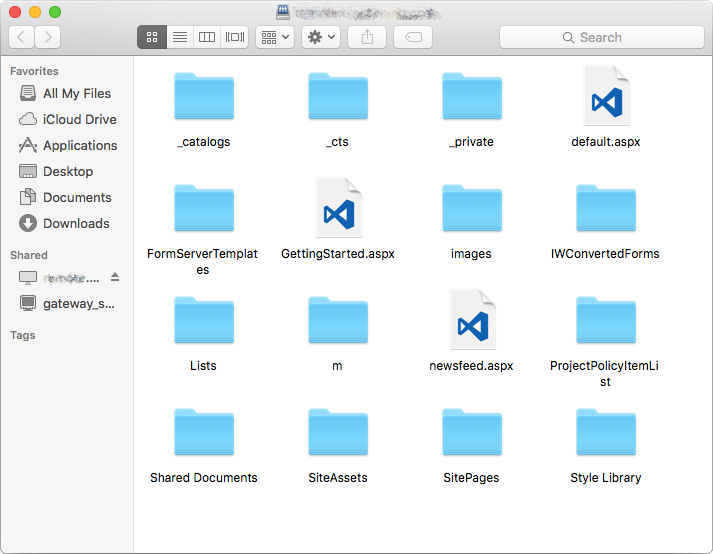
- Once it’s mapped it will open Finder and will show all the files as a network folder
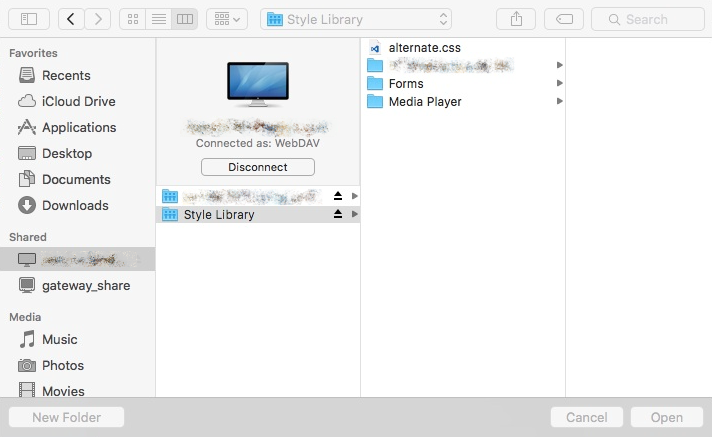
As an alternative you can map only the library where you want to work. (e.g. Style Library)
How to edit the files?
To modify the files, you first need to check them out; since this option is not available in Finder you will need to do this using a browser.
- On your browser navigate to the library where you have the branding files
(e.g.
http://sharepoint.com/Style%20Library/Forms/AllItems.aspx) - Check out all the files you will be modifying
- Open Visual Studio Code
- Go to File Open
- Select your SharePoint shared driver
- Select the library where the files are located and click Open
- In the explorer pane select the file you want to modify; it might take a few seconds to sync the file
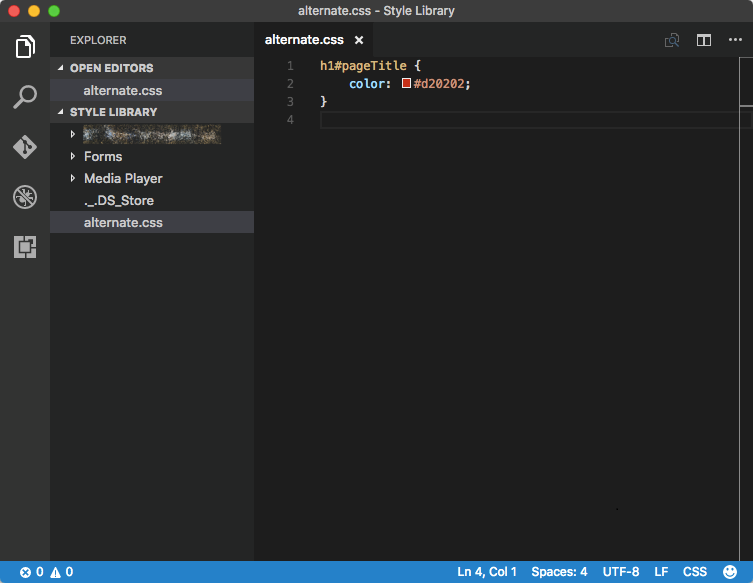
- Save your file and keep in mind that you will need to wait a few seconds
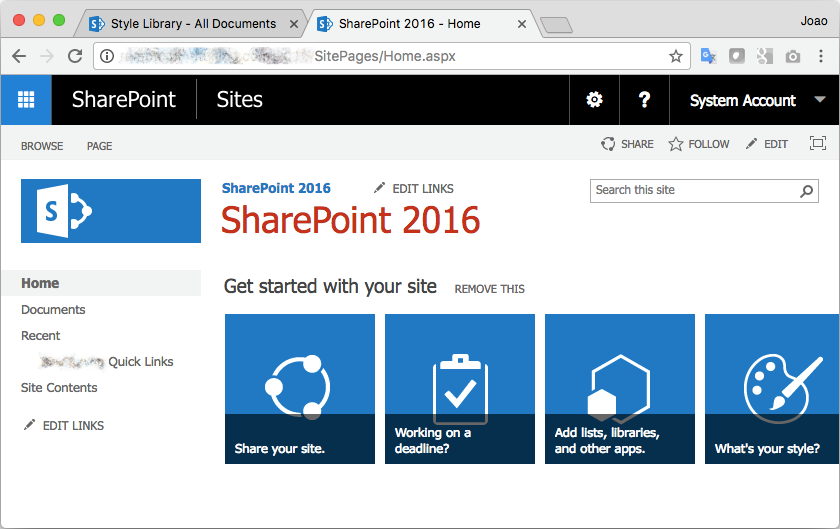
- Go to the browser, check in and publish your files as major version to make them visible to all the users
Bellow you have my SharePoint site, with a red page title, customized from a Mac.
Option 2 – Microsoft Document Connection
- Open Microsoft Document Connection
- Click on Add Location and select Connect to a SharePoint Site
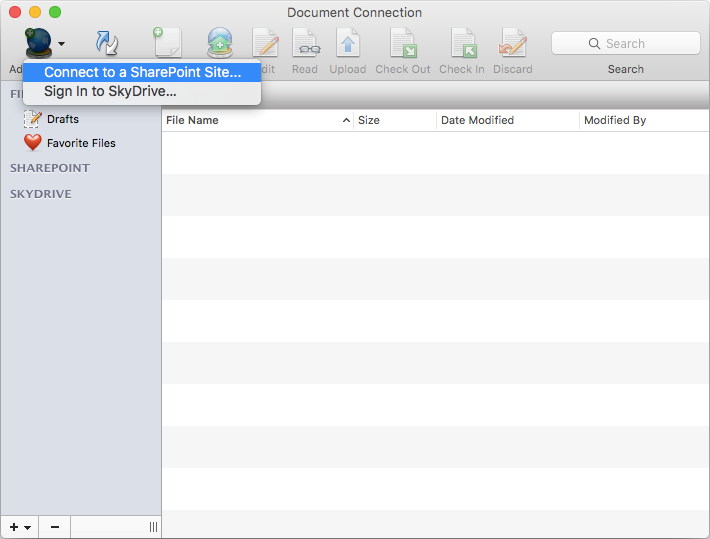
- Fill the address and credentials fields
By default, this software does not display all libraries, if you want a library that is not listed you will need to provide the address to it in the address field.
Once the library opens you will have the option to Edit, Check Out and Check in the files The edit option opens the local software defined for the file type

Once you finish editing your files check them in as a major version to make the changes visible for all the users
Pros and Cons
Option 2 is faster than Option 1 and does not require you to go to the browser to check in and check out the files but it uses a software that is 5 years old and was discontinued.
On the other hand, if you are editing multiple files at the same time, Option 1 allows you to see the tree view, Option 2 requires you open all the files individually.
With Option 1 you will add the infamous DS_Store files to the libraries and Windows users will be able to see them.
In conclusion...
Although there is no perfect option to achieve this goal, both described solutions will allow you to customize your SharePoint site from your Mac. It's up to you to decide on which best suits your needs.
Unfortunately, SharePoint Online is not supported but you can keep an eye on this thread. Apparently Microsoft has plans to support it with the OneDrive App ;)